Dashboard on your Project Management Tool

Once you have logged in you will see your default screen with the main menu. Hover over any of the main menus to explore each section, a range of options, and any recently accessed items. Click on the menu item to visit the Project’s, Schedule, Mailbox, Vacation Tracking, or User Settings sections. Within the project area, you will have options like Fixed Projects, Archived, and Hourly Projects.

Schedule Dashboard

It contains projects status like creating notes, as well as releasing date and change managers.

Search

Also in the main menu is the quick search box. To find something within Casecamp tool just type in this box to see an instant list of matching items. Click on one of the search results to take you directly to that item.

Profile Widget

It contains your personal info which you can do the update and your recent activities are also listed here.

Files

    • Uploading and Managing Files

Files are always attached to either a comment/tasks, ensuring that only those People with permissions will see the respective Files. To upload a new file, you can click “add an attachment” button below the text area (your comment) Ensure the file has completed uploading before switching to another page or closing your browser.

    • To View all Files of individual projects

The Files tab within a Project shows all of the Files that have been uploaded to Tasks or to the Project. You can even filter the files by week, month and year.

Calendar

The Project Calendar provides a personalized view of the Projects and Tasks that you have access to. You can view the calendar in Month, Week, or Day formats and click back and forward between periods as desired. You can move any event by dragging it to the preferred date range.

You can view detailed dates of all the tasks, to-do`s, actions that have occurred and yet to happen of the entire project duration. By clicking each task it will redirect to the history to show you the detailed view of entire conversation, actions & uploads.

Inbox

This is more like a mailbox, where you can view all the message logs. The messages that you received, sent etc…

Add projects

Mind as you start to migrate more of your projects into your new system.

  • Add the project name, code, details and the tasks required to complete it
  • Add the estimated hours required for each task
  • Add budget and timeline
  • Add workers to tasks, and Project managers to Projects
  • Tell your team it`s ok to Pin the Person most important at the current time
  • Have your team complete the work and add their hours and estimates for % complete

As you progress, your project managers can review the hours Estimated and Logged (Actual) along with the % complete, and tweak and manage timelines accordingly.

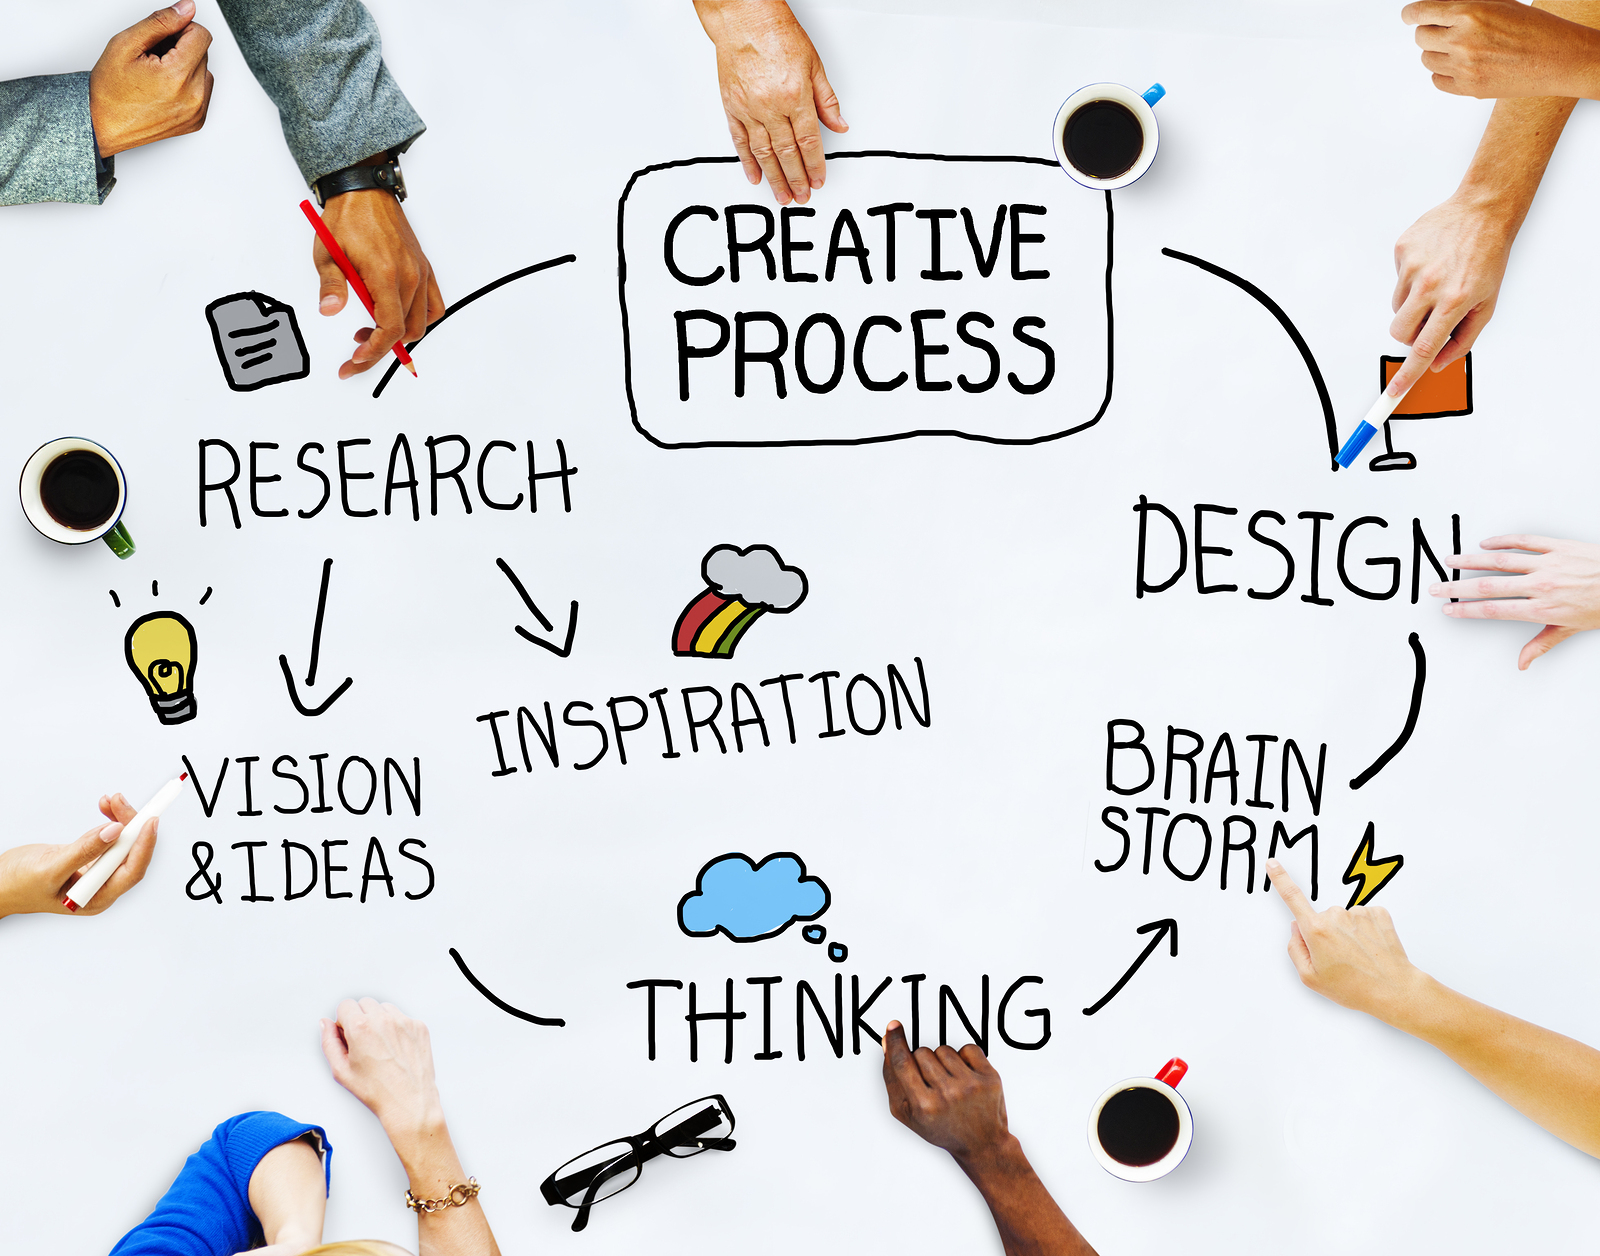
Ultimate Guide for a Creative Process

Making a creative has its own ups and downs. When you are patiently nurturing your creativity with a light mood and inspirational thoughts, and investing hours into the work, you shall be careful while refining your ideas before you present the work in front of your clients. But sometimes, some clients can urge for changes at odd hours and its 2 AM in the midnight, you must change the design because it is to be launched at 8 AM in the morning. Here, your tensions can bring you down to knees. Here, a clear creative process can save you and allow your hard work, wisdom, and experience to get the job done.

But what is the best process of working with creatives? Here is an ultimate guide:

Understand The Need for The Process

You must be having your own process to create the design from scratch; you never formalize the process and think about it in a detail. Improve your consistency and your ability to plan for a better understanding of the process. Understanding what client needs can give you a better vision. If you are working as a designer in an organization, many people will suggest you changes but ultimately it all depends on what client wants and how do they want the creative. Analyze your work what will work for you and what won’t.

Develop Your Own Process

First, examine what you are currently doing, and then what is expected. Cross check your abilities and demands from the client. A good process will always allow you enough flexibility while working with the various layers or creative freedom and expectations from the clients. By focusing on one aspect or different aspect of your process, research, and plan for execution with extreme care.

Research

First, identity about the things you have done for the similar kind of project, this will save half of your time. Identify the vibe that needs to create the design perfectly. Then ask your clients for expectations and modifications or generate a whole new design for the same.

Describe the direction and objectives and message to be conveyed to your clients and then get a tangible creative.

Plan Out

Sketch your ideas for a better vision. This is a mechanical process but it saves a lot of time. Once you start to work on the actual design, there is no turning back, but if you make a raw version of it, it will be more easy for both you and client to modify the changes easily.

Execute

Use the research and plans you create and then start moving your pixels around. Fulfill the demands and expectations of the clients and be bold while defining your creative head into the design. Be sure and confident while serving your design to clients and have a great success.